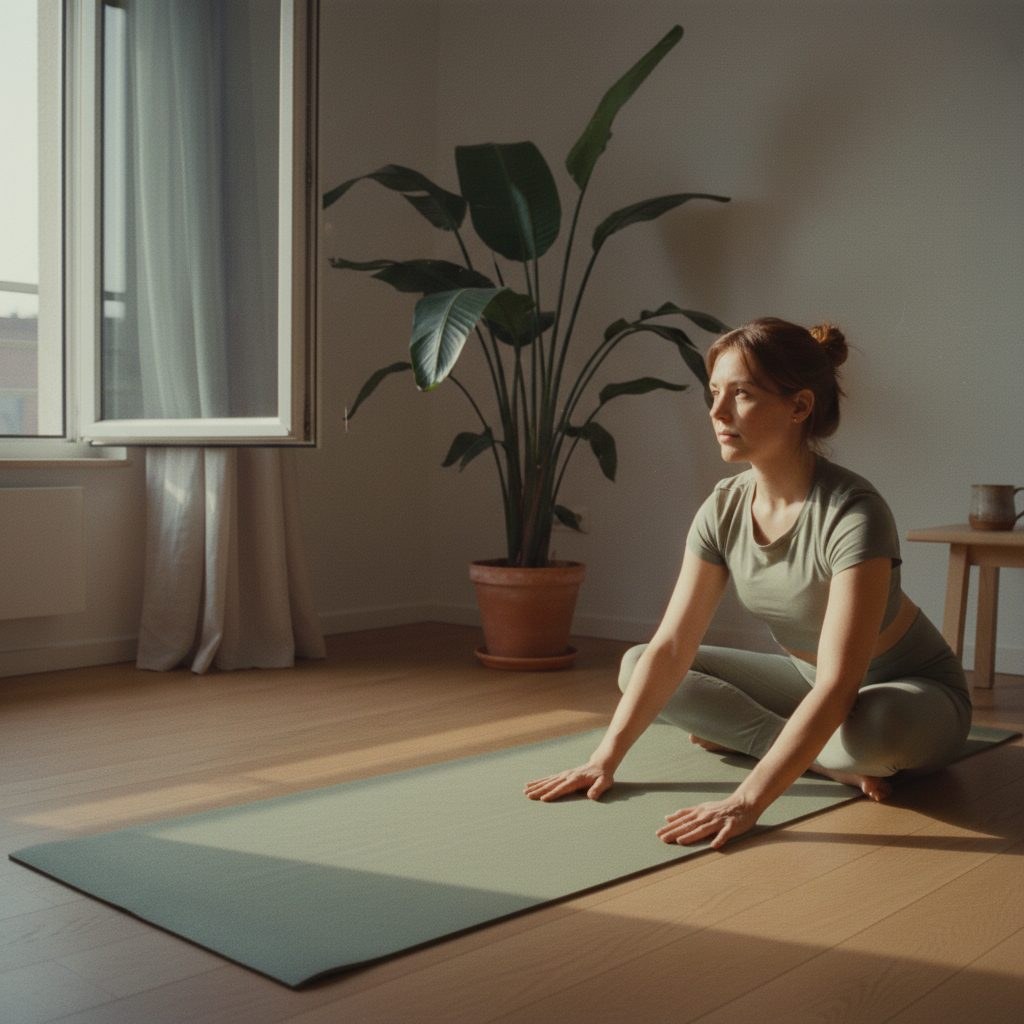
Most beginners foam-roll their back the wrong way. They roll right over the spine, dump their full weight onto the lumbar vertebrae and then wonder why everything hurts more than before. Yet foam rolling is one of the most effective tools out there - when you do it right.
Here are 5 movements we like for short, structured back-focused mobility sessions. Keep the pace slow, stay beside the spine, and choose a lighter touch whenever you are unsure.
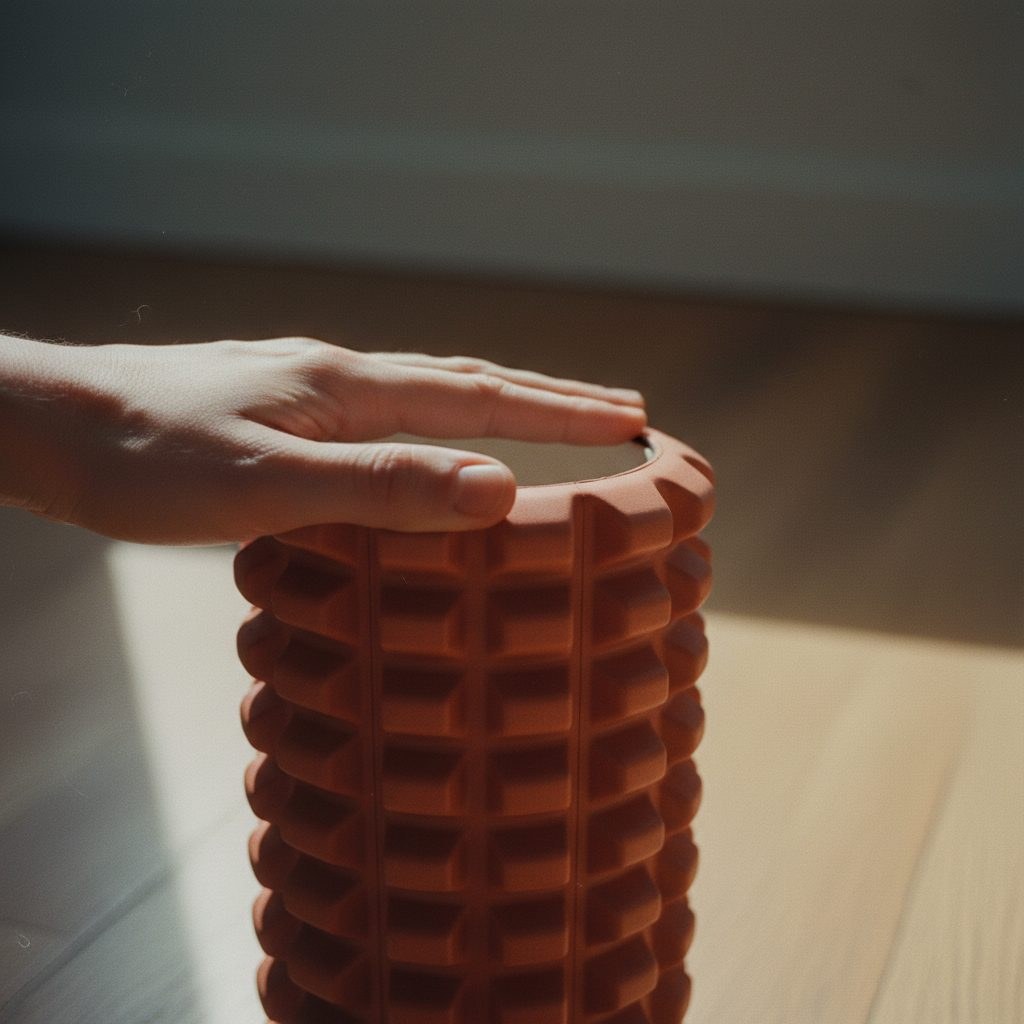
Read this first: Never roll directly over the spine. The roller belongs on the muscles to the left and right of the vertebrae - not on the bones. If something feels sharp or wrong, stop immediately.
1. Lat Rolling (Side Back Muscles)
- Lie on your right side. The foam roller sits just under your armpit, parallel to the spine.
- Extend your right arm overhead - this exposes the lat.
- Use your left leg for light support and roll slowly between your armpit and the bottom of your rib cage.
- 10-15 slow rolls per side, then switch.
- If you find a trigger point (a small spot that burns), stay there for 20 seconds and keep breathing.
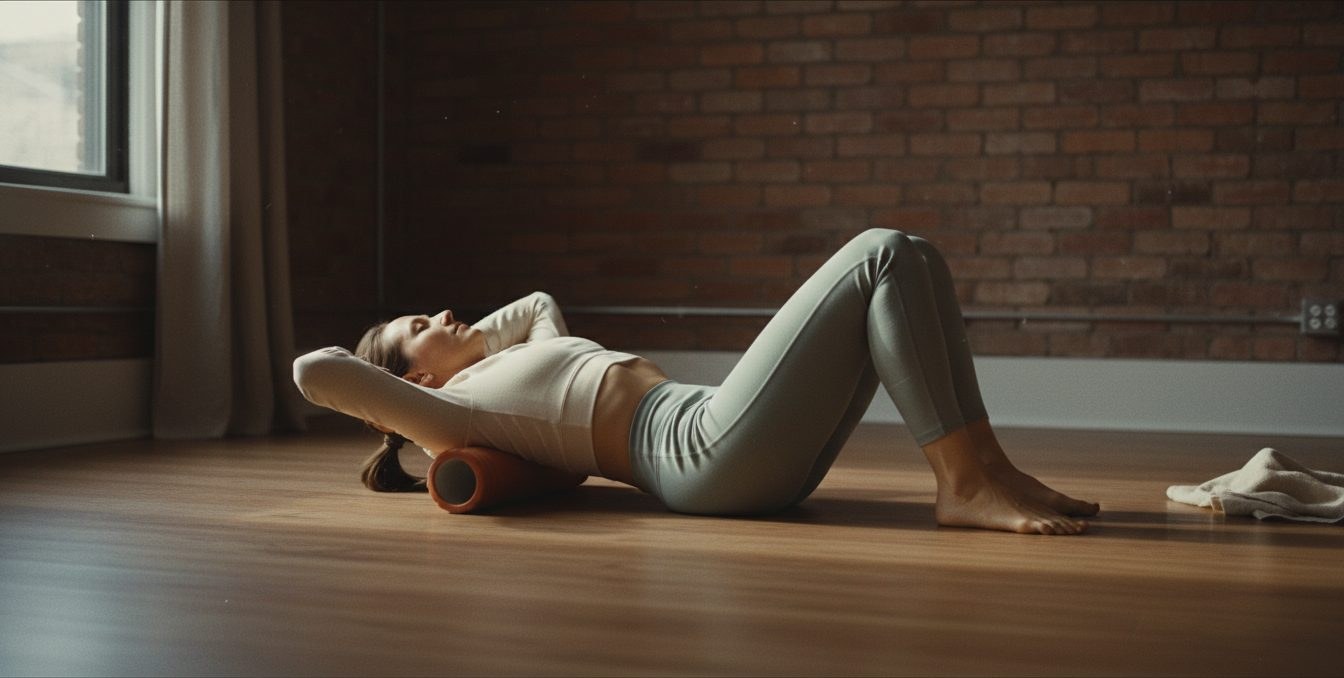
2. Thoracic Spine Mobilization

- Lie on your back, roller across the upper back at the level of the thoracic vertebrae.
- Hands behind your head, elbows forward.
- Slowly arch backward over the roller - like a reverse stretch.
- Hold for 5 seconds, return. 8-10 repetitions.
This is a useful drill for people who sit a lot because it encourages a slower upper-back mobility check.
3. Upper Traps (Shoulder-Neck Junction)
- Roller across the upper back, between the shoulder blades and the shoulder girdle.
- Knees bent, hips slightly lifted.
- Make small movements across the upper trap region - do not roll higher.
- 15-20 short rolls.
4. Quadratus Lumborum (Lower Back, Sides)

- Same side-lying position as the lat exercise, but the roller is below the ribs, at hip height.
- Roll carefully back and forth with a light touch.
- Aim for steady, manageable pressure - not a sharp sensation.
- 5-10 slow rolls per side.
5. Glutes (Seated Roller Work)

- Sit on the roller, cross your right leg over your left knee (figure-four position).
- Lean slightly to the right to focus on the right glute.
- Push with your hand on the floor and roll slowly back and forth - the roller passes under the glute.
- 20 seconds per side, then switch.
Pro tip: If a trigger point burns, breathe deep into your belly and relax the surrounding tissue. Bracing against the roller only makes it worse.
How often, how long?
For most people, 3 sessions a week of 10 minutes each is plenty. If you sit a lot or train hard, you can roll daily - your body will tell you what it needs.
A bit of muscle soreness in your back the day after the first session? Normal. It fades after 3-4 sessions.
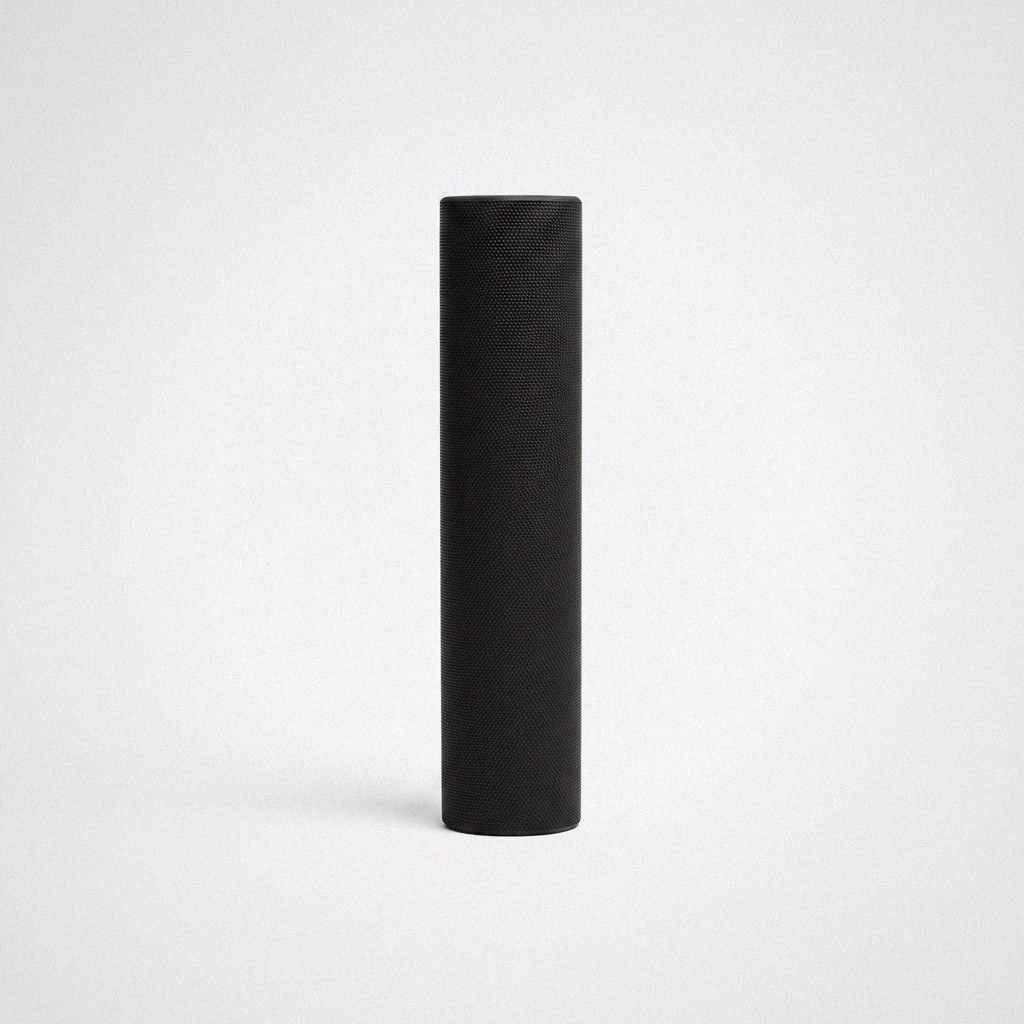
Recommended tools
Editor's Pick
Foam Roller
Firm EPP foam, structured surface. Exactly what these exercises need.
The takeaway
Rolling your back does not need to be complicated. The rule that matters: never on the spine, always parallel to it. Keep the sensation manageable, and stop when something feels sharp or wrong.
For the right tool to take this further, browse our back-focused selection - foam roller, massage ball, and the rest of what these moves call for.